How can I use a TeachVid resource with my students?

This post looks at 5 different ways of exploiting a TeachVid resource with your students…

The Resource Page

1) The Resource Page

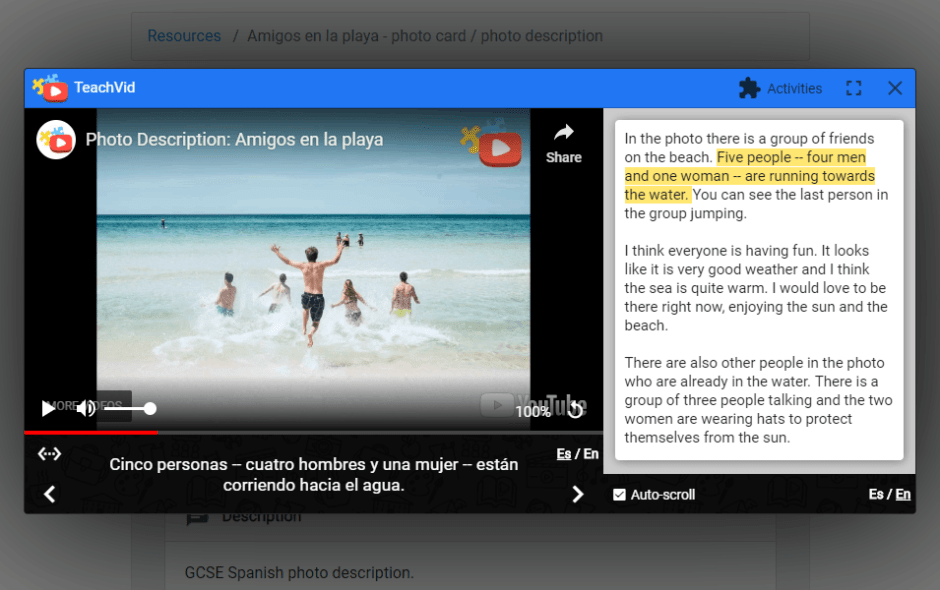
Students (or you) can search the resources to find one that they (or you) want to use. Spend time in Learn Mode listening, watching, pausing the video, comparing the languages, clicking the subtitles for text-to-speech and chunk notes etc. Students (if working individually) can then do any of the available activities in any order and have their scores and progress saved by TeachVid.

Continue reading “How can I use a TeachVid resource with my students?”

Introducing LIVE SESSIONS on TeachVid

We’ve added a whole new side to TeachVid: Live Sessions !!

A Live Session is a time-limited competition based on a TeachVid resource, where students score points on the Live Session scoreboard based on the number and accuracy of their interactions.

Live Sessions are a great way of injecting some excitement and an element of competition into a TeachVid video resource, either in class or at home 🙂

There are 2 types of Live Sessions:

  1. Classroom Live Sessions (for teacher subscribers only)
  2. Temporary Live Sessions (for all registered users with featured resources)
Continue reading “Introducing LIVE SESSIONS on TeachVid”

How long should video captions be on TeachVid?

Some questions to consider when creating transcript-based resources on TeachVid:

  • How long should each caption be?
  • Where’s the best place to split text?
  • When should I join separate lines into a single caption?

The image at the top of the post shows step 3.2 of the resource creation process, where every line of text in your transcript (from step 3.1) is shown as a blue “caption bubble”.

At this point, you can click anywhere within a caption bubble to split it into more than one caption. You would typically do this if your Continue reading “How long should video captions be on TeachVid?”

Worksheet improvements :)

We’ve added some new functionality to the TeachVid printables!

Select your own words before printing

Previously, if you clicked on the “Gap fill” button, it automatically printed a random gap fill (with roughly 1 in 7 words gapped, up to a maximum of 30 gaps).

If you click on “Gap fill” now (as of 1st August 2019), you’ll see that the random option is still there, but there is also a new option to select your own gaps. (See image below).

Continue reading “Worksheet improvements :)”

“Activity mode” in TeachVid

You may have already come across our blog post introducing “Learn mode” in TeachVid, in which we describe how TeachVid’s unique interactive player + captions + transcript / translation + various other tools combine to help students to engage with the video content even before they embark on any of the activities. (If not, here it is…)

Well, this blog post is all about “Activity mode”, which is arguably where the learning really begins…

Continue reading ““Activity mode” in TeachVid”

Sharing links to resources & activities

Every TeachVid resource page has a share button (at the top-right of the resource image preview), which allows users to share a link to that particular resource page via Facebook or Twitter (as shown in the image above).

That’s fine if you only want to share a link to the resource page. But we thought it might be a nice idea to allow users to do a bit more than that…

Continue reading “Sharing links to resources & activities”

YouTube Channel page on TeachVid

We recently added a YouTube Channel feature on TeachVid.

If you open any resource page on TeachVid – this one, for example – and you scroll down to below the “Printables” and the “Transcript” section, you’ll see a YouTube Info section.

This section is automatically generated and shows:

  • the “about” information for the YouTube channel to which the video used for the resource belongs (as long as the “about” text is not blank / empty).
  • a Video URL, linking to the video on YouTube.
  • a “More from this channel” button.
  • a button to access the YouTube Channel on YouTube.

Continue reading “YouTube Channel page on TeachVid”

All registered users can now create TeachVid resources

It was previously the case that only those with Teacher subscriptions to TeachVid were able to create resources on TeachVid…

Not any more 🙂

All registered users can now create their own TeachVid resources!!

If you go to the resources section of TeachVid (you’ll need to register – FREE – or log in if you’ve already registered), you’ll see that you now have a “My resources” tab which looks something like the image below:

Continue reading “All registered users can now create TeachVid resources”

Example classroom

Classrooms on TeachVid are set up by teachers, and users normally need to be sent an invitation to join these classrooms along with a password.

But we’ve now added an example classroom that anyone can visit.

The example classroom allows you to see what a classroom looks like – and what assignments and Live Sessions look like – from a student’s perspective. (The only difference here is that none of the assignments have a due date, and the Live Sessions are auto-generated roughly every hour.)

Continue reading “Example classroom”

GCSE Spanish Picture Description

One of the simplest ways of creating YouTube video content that you can use with your students on TeachVid is to add a voice-over track to a still image.

Describing a picture is a common assessment method for language learners, so why not make simple video content based on a still image plus your own scripted description of the image content?

Try to include vocabulary and structures that would be useful in as many contexts as possible, and bear in mind that the content should be vocabulary and structures that you would ideally like your students to be able to produce.

Have a look at the examples below. (Click on the links in blue to open the resources.)

Before you look, however, let me quickly explain what you’re looking at…

Continue reading “GCSE Spanish Picture Description”