One of the simplest ways of creating YouTube video content that you can use with your students on TeachVid is to add a voice-over track to a still image.
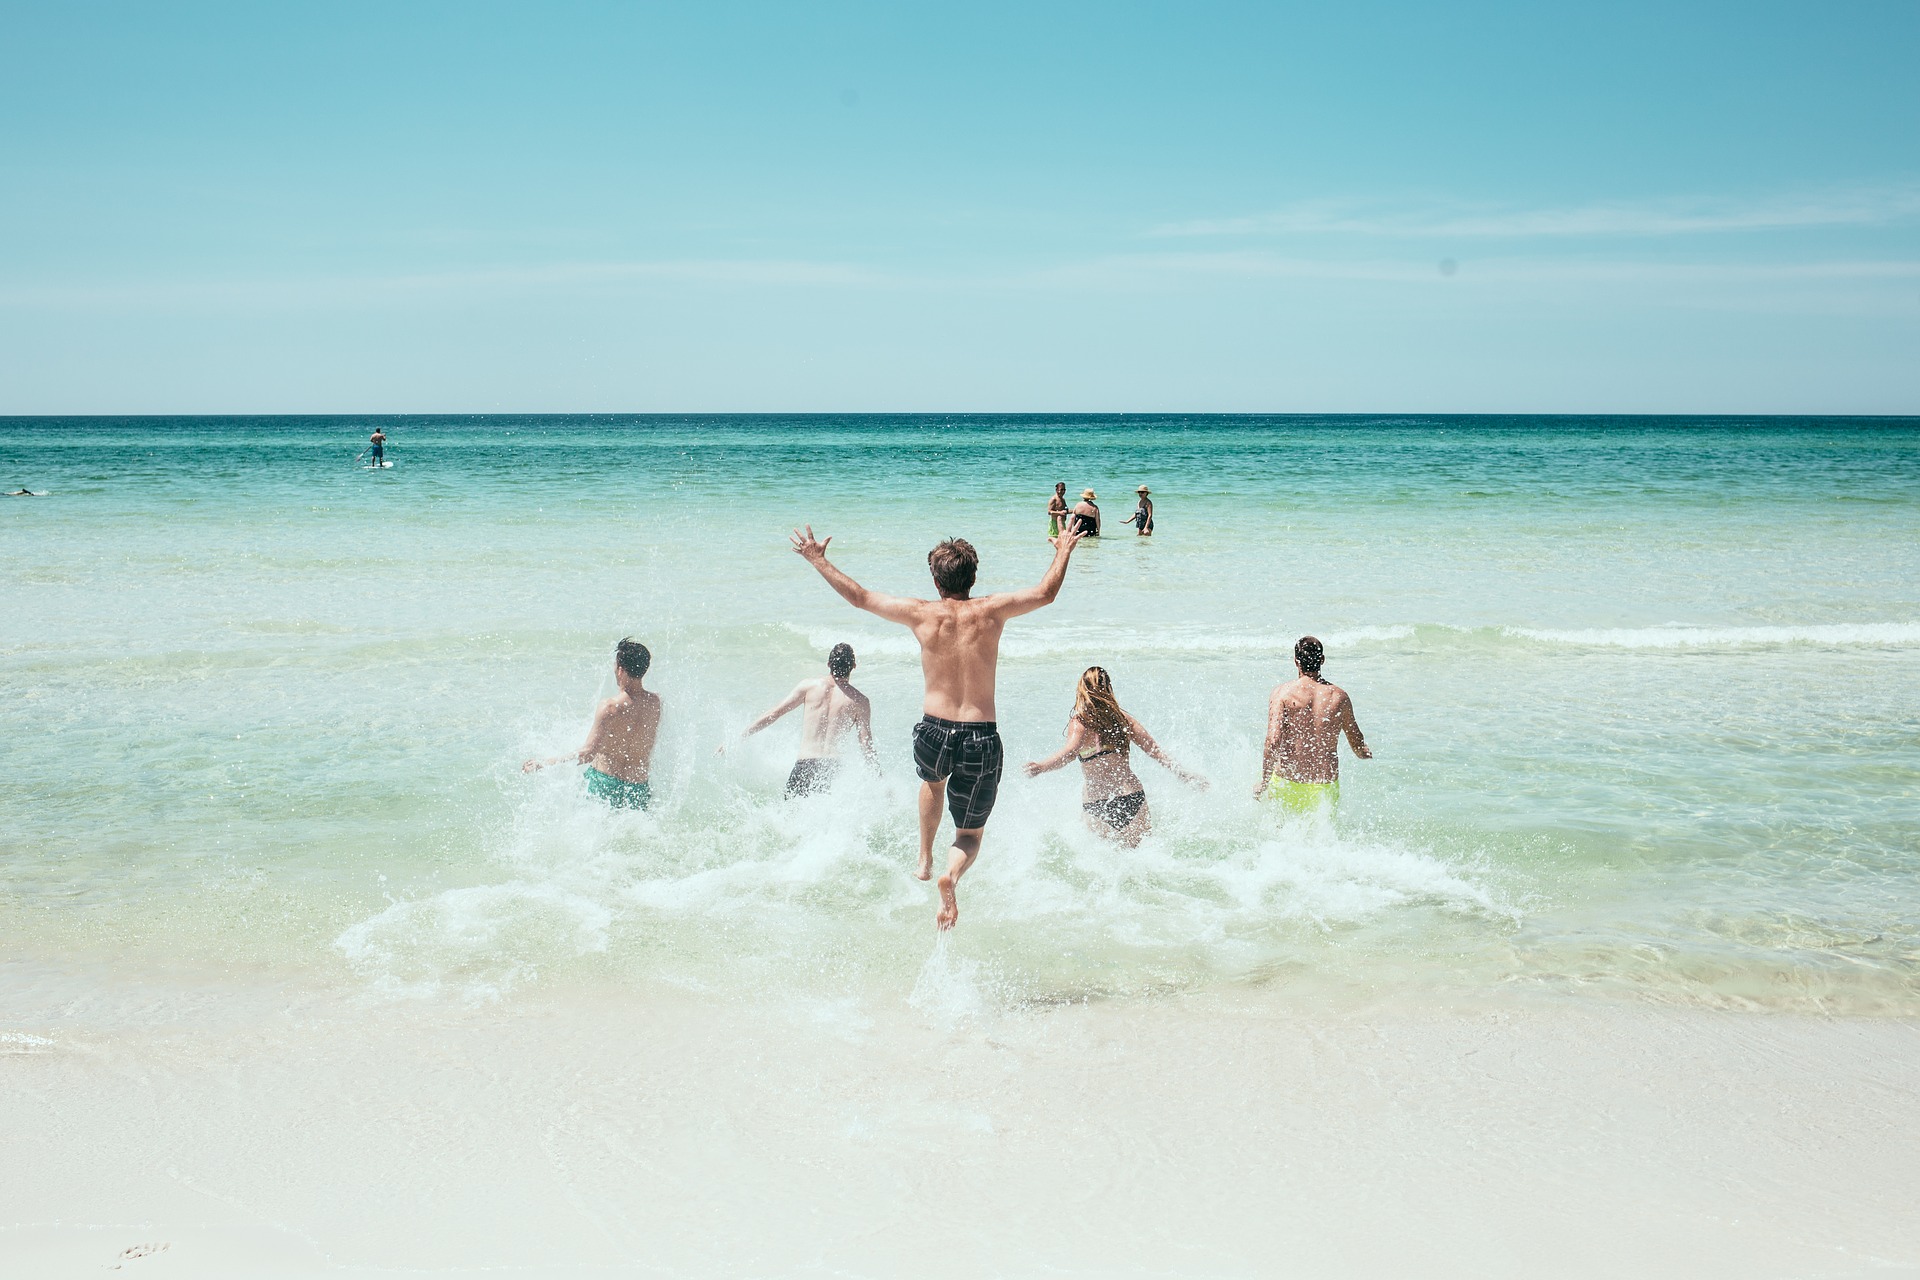
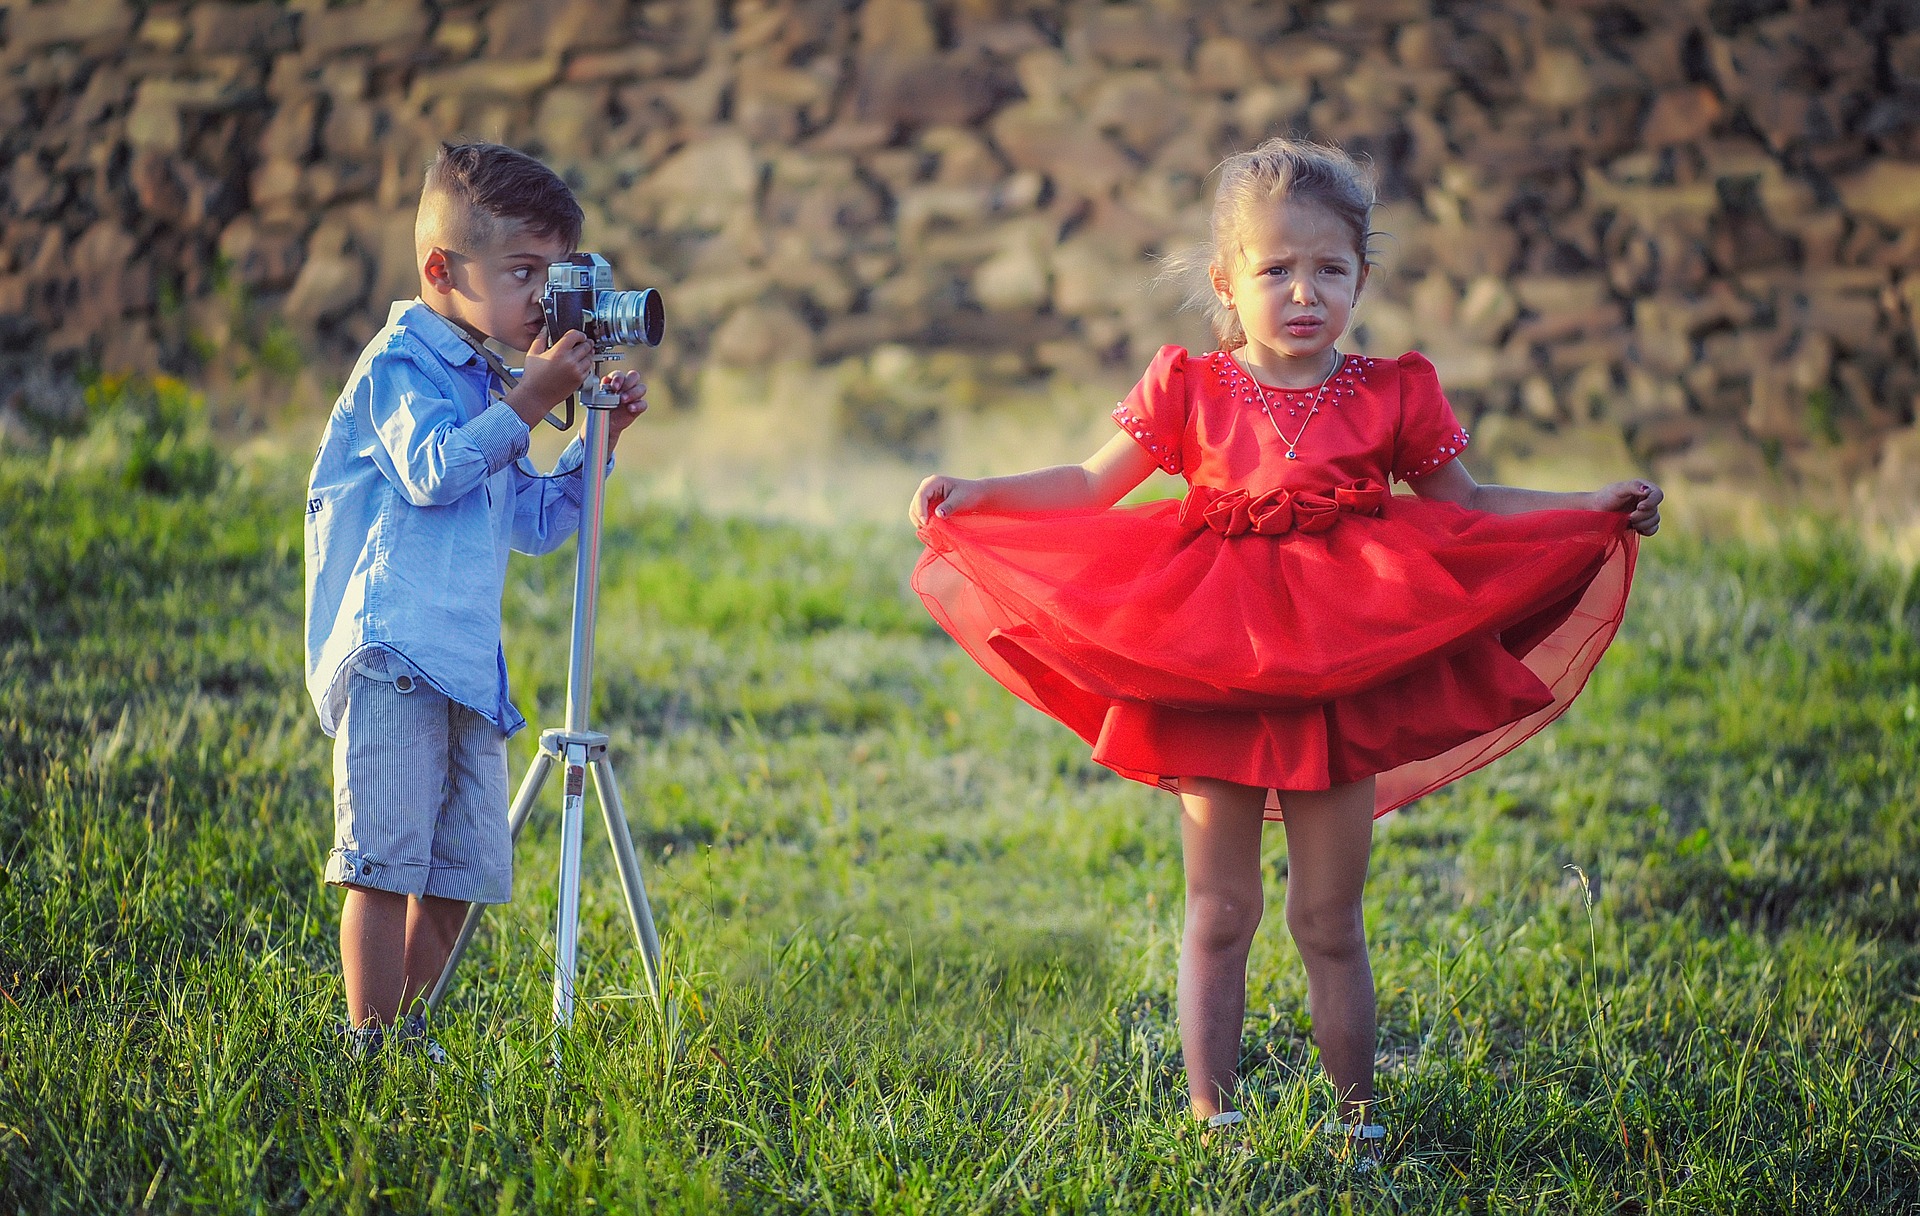
Describing a picture is a common assessment method for language learners, so why not make simple video content based on a still image plus your own scripted description of the image content?
Try to include vocabulary and structures that would be useful in as many contexts as possible, and bear in mind that the content should be vocabulary and structures that you would ideally like your students to be able to produce.
Have a look at the examples below. (Click on the links in blue to open the resources.)
Before you look, however, let me quickly explain what you’re looking at…
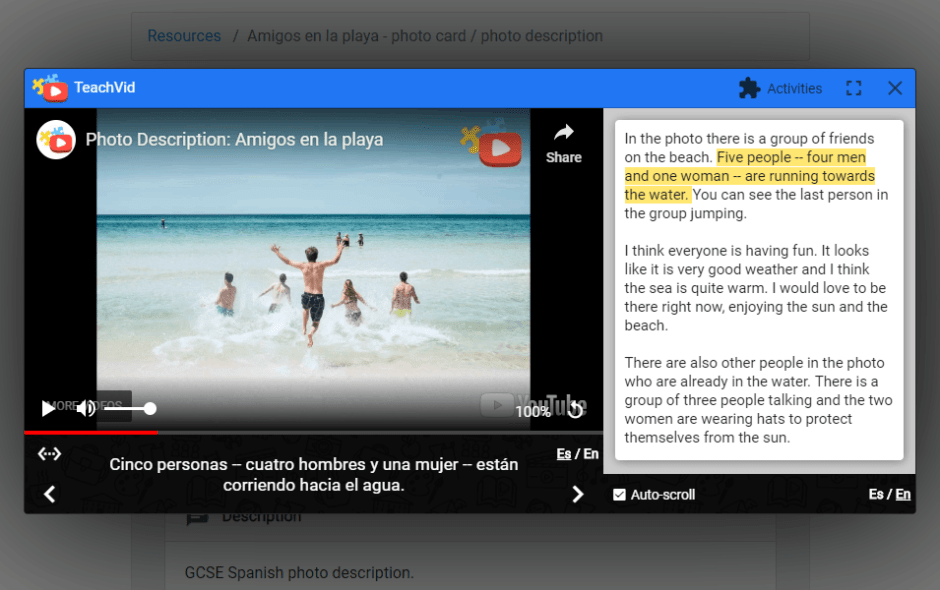
Every TeachVid resource has its own resource page, which includes things such as printable pdfs, the video transcript, information about the resource, information about the YouTube channel, a link to the video on YouTube, and, at the top of the page, an “Open resource” button which is how you access the interactive resource.
Once you have clicked the “Open resource” pop-up (and before you open any of the activities), you are in “learn mode”. This blog post explains what’s going on in learn mode.
Note that you don’t have to be logged in to try the activities, but it’s best if you are, as then your progress is saved for each activity. (Registration is free and takes no time at all. You can even register via Facebook or Google.)
Now that that’s dealt with, here are the resources…


Let me know what you think in the comments.
